Picking the Perfect Tile Layout
 |
Let’s have a look at them one by one and discuss their specific characteristics together with how and where they would look best.
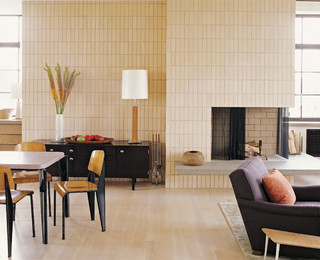
BRICK
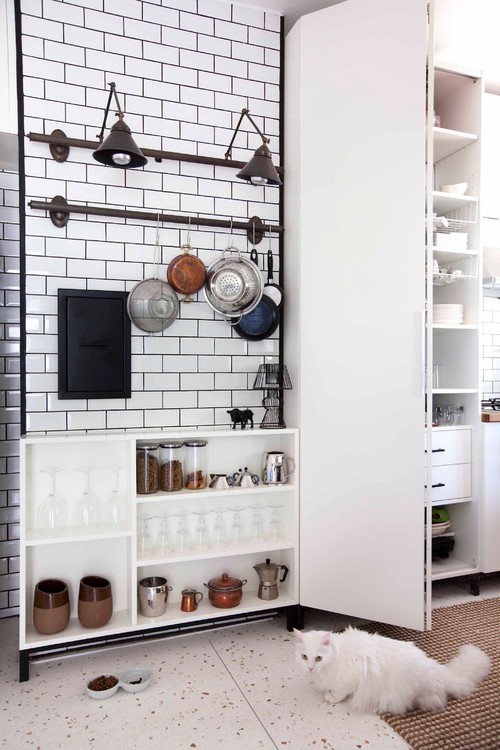 |
Tip: This type of layout looks extra elegant when used in combination with a grout color that contrasts the tile color. For instance white tiles with black grout would nicely emphasize the geometric arrangement.
When it is ideal: Virtually works anywhere. Particularly on walls (interior and outdoor) where a single tile has to be used all over.
 |
|
|
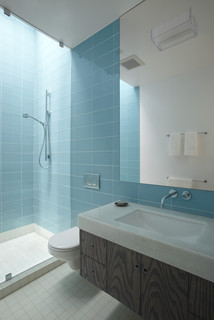
VERTICAL BRICK
It’s just a version of the regular brick layout turned to its side by 90 degrees. So instead of horizontally running rows you have vertical columns arranged in the same way. Each column offset by half a brick’s longer side in each neighboring line. The rotated orientation accentuates the height of the space rather than the width. It also adds a contemporary touch by giving a classic pattern an unexpected twist. Same grout picking rules apply to this layout. When it is ideal: There’s a need to lift the height of an otherwise compact room’s ceiling.
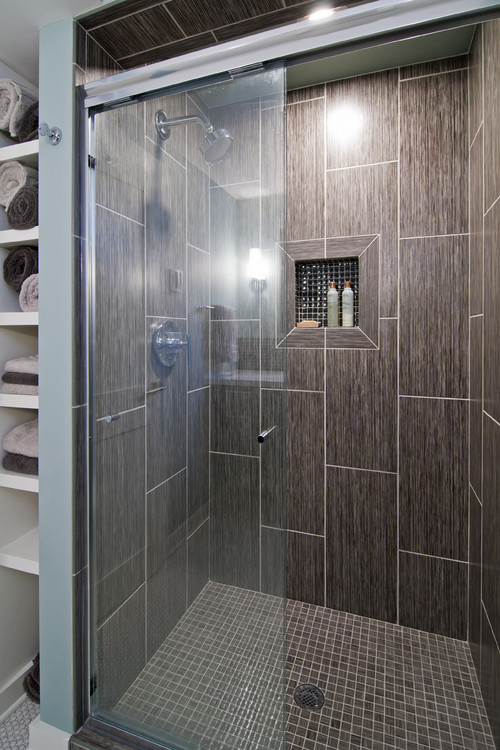
LARGE BRICKS
This isn’t very different from the earlier described brick layout. This style just has tiles much larger than ordinary ones. The oversized tiles can bring a completely different effect to a space. These often feature material richer in stone. Using a grout color that is highly matching or similar to the tile’s main color is not infrequent in these cases. It minimizes the pattern and gives the wall a more solid look.
 When it is ideal: In cases where one desires a more continuous and seamless appearance, large tiles are recommended along with a color-matched grout to minimize the visual impact of the pattern.
STACKED
This is one of the plainest layouts, consisting of tiles stacked over each other and next to each other in a way that results in a simple repetitive grid design. The stacked layout is usually preferred when one is looking for modern design elements to add in a space.
HERRINGBONE
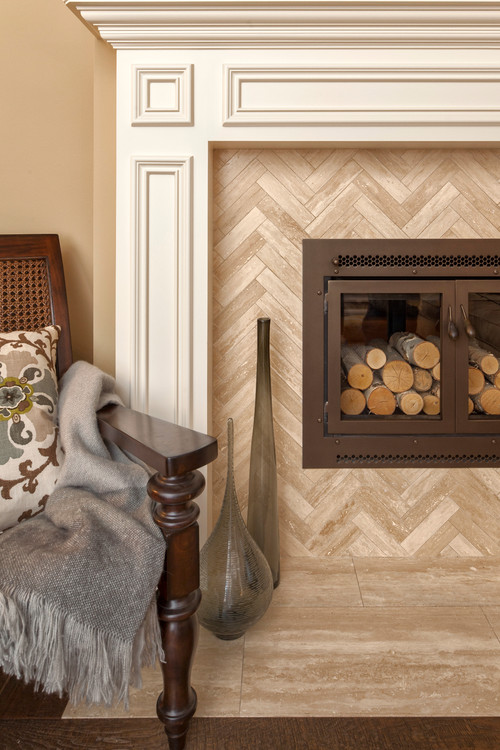 |
When it is ideal: Not on large surfaces, because it might appear overwhelming on a bigger scale. Preferably, as accent with long thin tiles anywhere, or in traditional kitchen interiors.
 |
BASKET WEAVE
This layout along with some similar ones, use regular subway tiles and convert them into square units that can be used repeatedly. Basket-weave adds the wow-factor in a simple way that’s not very different from the earlier mentioned herringbone layout. However, it sure saves extra trimmings and cuttings, which is a major plus.
When is it ideal: With contemporary style décor to add a dash of energy.
When is it ideal: With contemporary style décor to add a dash of energy.
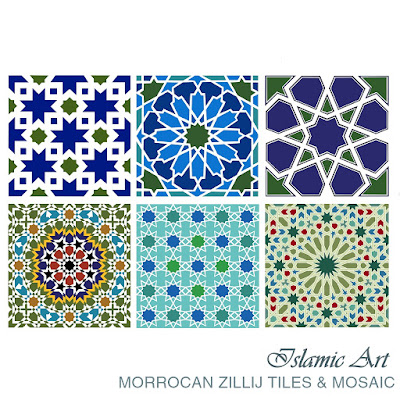
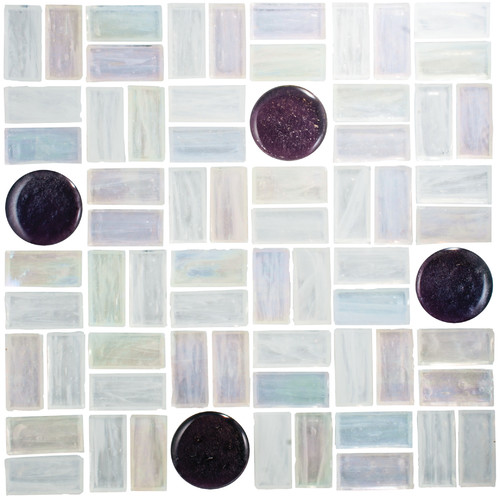
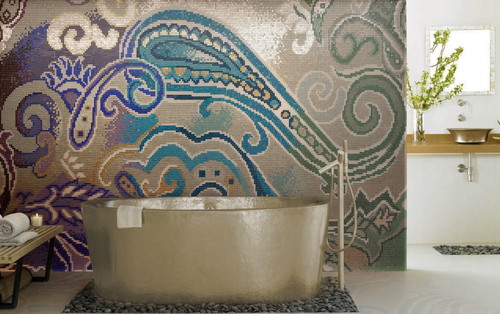
MOSAIC
 |
One of the best things about mosaics is that they can be installed on just about any interior or exterior surfaces; from swimming pools to walls as murals to floors as rugs & motifs to furniture and even on washbasins. They give a luxurious and elegant appearance at very ordinary costs.
When it is ideal: As a highlight on an accent wall, kitchen and washroom backsplashes, for niches, on a shower or swimming pool floor (the extra use of grout makes mosaic less slippery).
Other Layouts
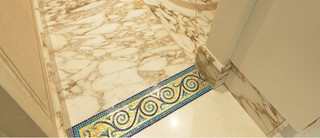
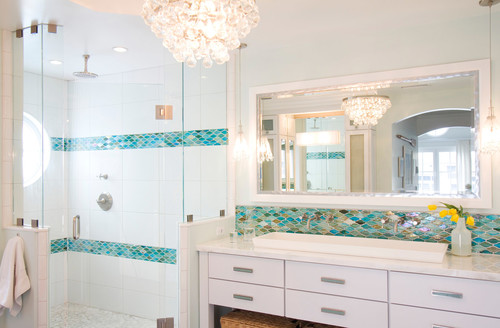
ACCENT BORDERS
Border strips of accent tiles add a splash of design and color subtly to an otherwise plain wall thus making the purpose they serve purely decorative.
On the other hand, what most of you might not know it its practical use to bridge the gap that might potentially arise when the size of the wall isn’t in exact multiples of the height of the chosen tiles. When this is the case something is often needed to be cut from the top or bottom. This is when the accent tiles come in. Let’s say the primary tiles are 4” high and the total height of the wall is 7 ft. 3”. The 4 inch tiles would cover the 7 feet easily but what of the remaining 3 inches. If you don’t want to waste perfectly good tiles by cutting them an inch shorter a very wise option is to use and embed mosaic or some other tiles the height of which is (or adds up to) 3 inches, somewhere along the wall. Just be sure to discuss the parameters and measurements with the person who is installing your tiles well before hand to avoid any extra costs or wastage.
On the other hand, what most of you might not know it its practical use to bridge the gap that might potentially arise when the size of the wall isn’t in exact multiples of the height of the chosen tiles. When this is the case something is often needed to be cut from the top or bottom. This is when the accent tiles come in. Let’s say the primary tiles are 4” high and the total height of the wall is 7 ft. 3”. The 4 inch tiles would cover the 7 feet easily but what of the remaining 3 inches. If you don’t want to waste perfectly good tiles by cutting them an inch shorter a very wise option is to use and embed mosaic or some other tiles the height of which is (or adds up to) 3 inches, somewhere along the wall. Just be sure to discuss the parameters and measurements with the person who is installing your tiles well before hand to avoid any extra costs or wastage.
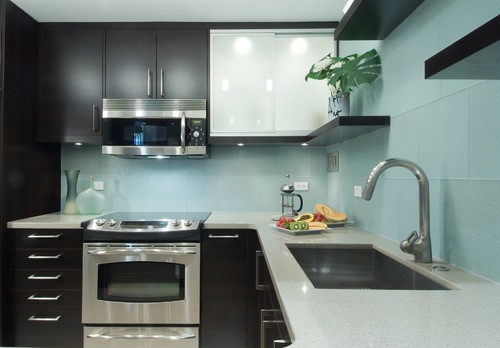
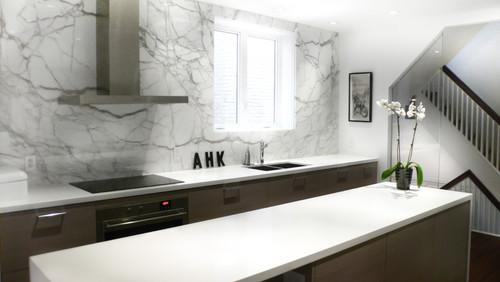
SOLID SLABS
What should you get if you want no tile pattern but still need something for a backsplash? A single slab backsplash of course. Solid slab backsplashes are popular contemporary-style choice. It usually costs more than the smaller tile layouts but can be a great choice for smaller kitchens with lesser backsplash areas.
The slab style offers a relatively open look. The counters and backsplashes can even be made out of the same material. For a more economical option you could also look for off-cut slab pieces to make a short backsplash and go for a less costly material (e.g. luxe stone) option for the counters. They can complement each other beautifully if chosen creatively.
What kind of tile material would you most likely go for? Which tile layout style is your favorite? Do you think we missed a significant one in this list? If you have anything to say or ask please leave a comment below. We love hearing from you!
[Source & Inspiration: Houzz
– Yanic Simard]